https://gist.github.com/arifmarias/706d6a9d9fac439073c64bba974c6234
Spark Architecture
Apache Spark follows a master/slave architecture with two main daemons and a cluster manager.
- Master Daemon — (Master/Driver Process)
- Worker Daemon –(Slave Process)
- Cluster Manager
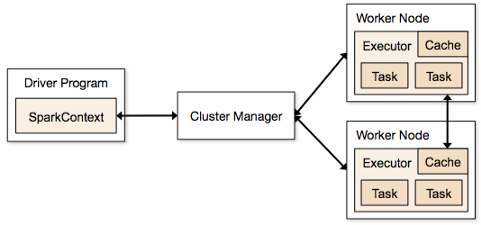
A spark cluster has a single Master and any number of Slaves/Workers. The driver and the executors run their individual Java processes and users can run them on the same horizontal spark cluster or on separate machines.
Pre-requirements
- Ubuntu 18.04 installed on a virtual machine.
1st Step:
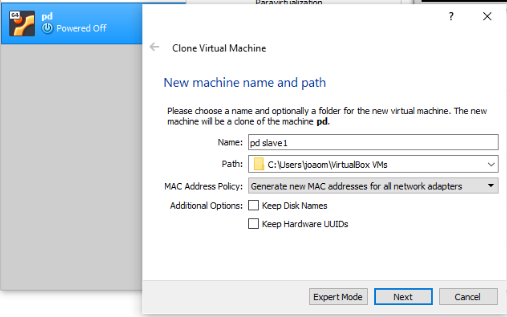
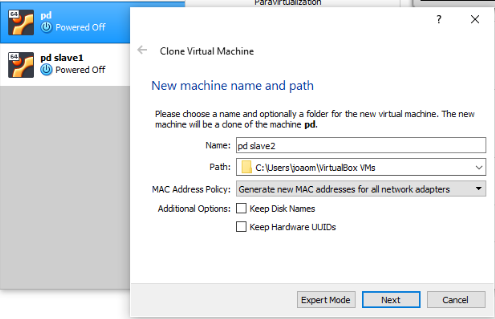
Create 2 clones of the Virtual Machine you’ve previously created.
Make sure that you have the option “Generate new MAC addresses for all network adapters selected. Also, choose the option “Full Clone”.
2nd Step:
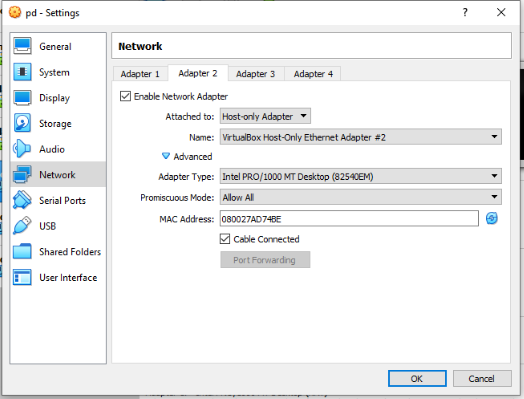
Make sure all the VM’s have the following network configuration on Apapter 2:
3rd Step:
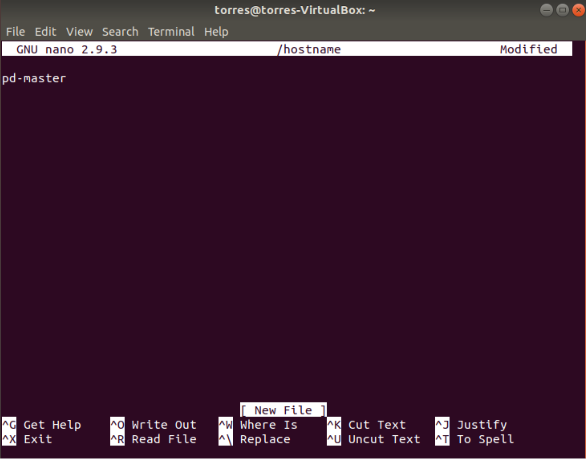
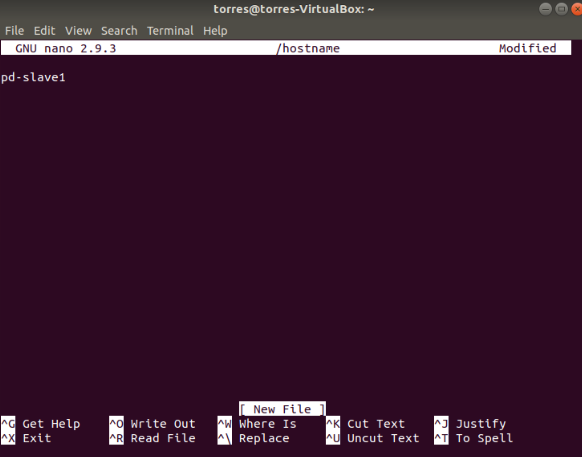
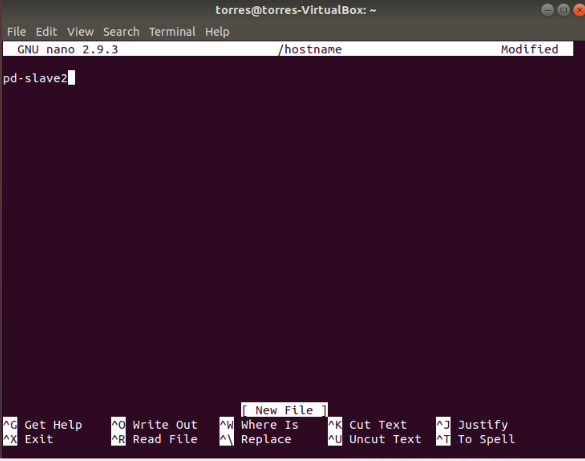
Let’s change the hostname on each virtual machine. Open the file and type the name of the machina. Use this command:
sudo nano /hostname
4th Step:
Now let’s figure out what our ip address is. To do that just type the command:
ip addr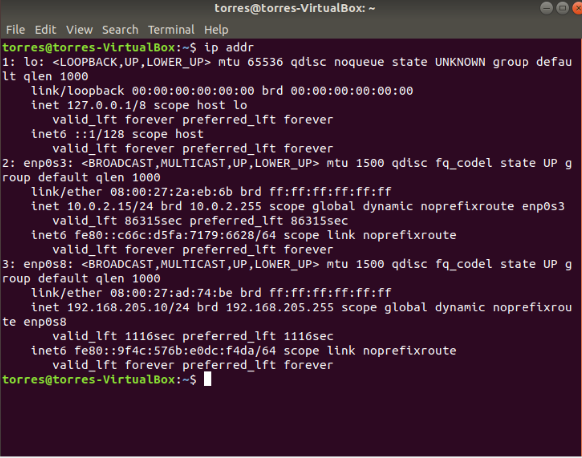
This is on the master VM, as you can see our IP is 192.168.205.10. For you this will be different.
This means that our IP’s are:
master: 192.168.205.10
slave1: 192.168.205.11
slave2: 192.168.205.12
5th Step:
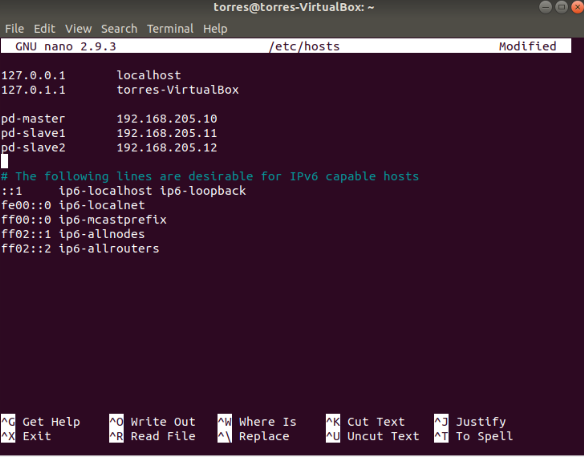
We need to edit the hosts file. Use the following command:
sudo nano /etc/hostsand add your network information:
6th Step:
In order for the machines to assimilate the previous steps we need to reboot them. Use the following command in all of them:
sudo reboot7th Step:
Do this step on all the Machines, master and slaves.
Now, in order to install Java we need to do some things. Follow these commands and give permission when needed:
$ sudo apt-get install software_properties_common
$ sudo add-apt-repository ppa:webupd8team/java
$ sudo apt-get update
$ sudo apt-get install openjdk-11-jdk
To check if java is installed, run the following command.
$ java -version
8th Step:
Now let’s install Scala on the master and the slaves. Use this command:
$ sudo apt-get install scala
To check if Scala was correctly installed run this command:
$ scala -version
As you can see, Scala version 2.11.12 is now installed on my machine.

9th Step:
We will configure SSH, but this step in on master only.
We need to install the Open SSH Server-Client, use the command:
$ sudo apt-get install openssh-server openssh-client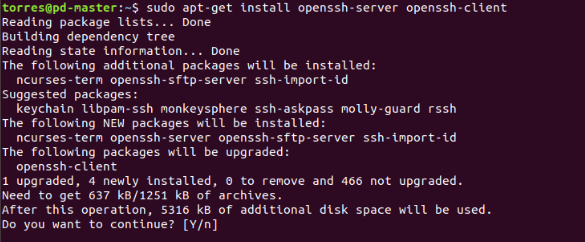
Now generate key pairs:
$ ssh-keygen -t rsa -P ""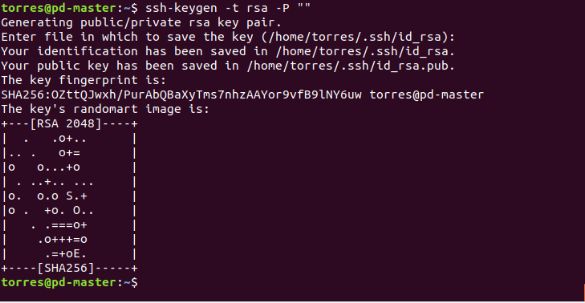
Use the following command in order to make this key an authorized one:
cat ~/.ssh/id_rsa.pub >> ~/.ssh/authorized_keys
Now we need to copy the content of .ssh/id_rsa.pub (of master) to .ssh/authorized_keys (of all the slaves as well as master). Use these commands:
ssh-copy-id user@pd-master
ssh-copy-id user@pd-slave1
ssh-copy-id user@pd-slave2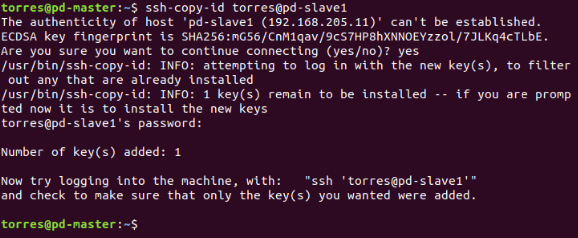
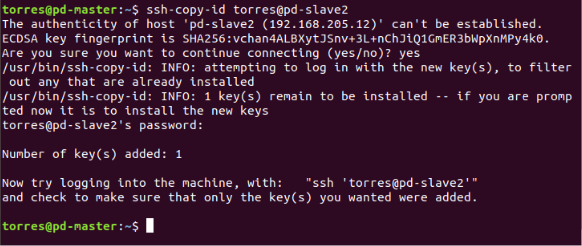
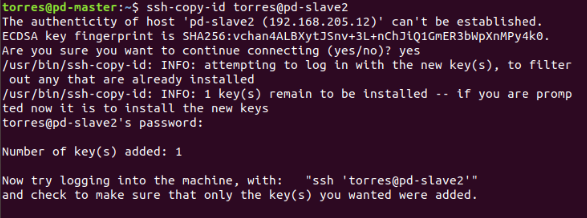
Let’s check if everything went well, try to connect to the slaves:
$ ssh slave01
$ ssh slave02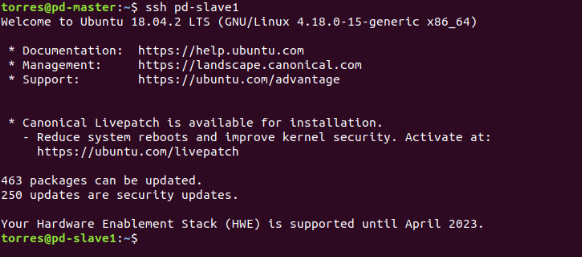
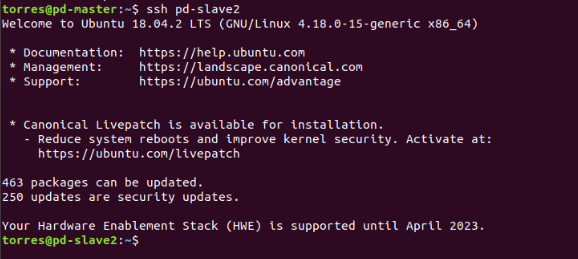
As you can see everything went well, to exit just type the command:
exit
10th Step:
Now we Download the latest version of Apache Spark.
NOTE: Everything inside this step must be done on all the virtual machines.
Use the following command :
$ wget http://www-us.apache.org/dist/spark/spark-2.4.4/spark-2.4.4-bin-hadoop2.7.tgzThis is the most recent version as of the writing of this arcticle, it might have changed if you try it later. Anyway, I think you’ll still be good using this one.

Extract the Apache Spark file you just downloaded
Use the following command to extract the Spark tar file:
$ tar xvf spark-2.4.4-bin-hadoop2.7.tgz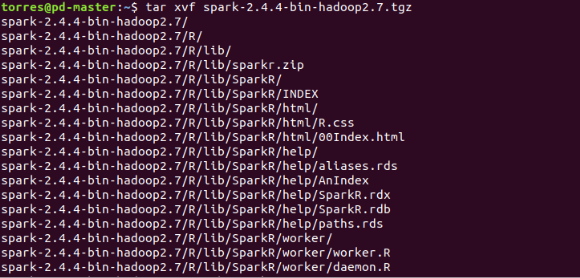
Move Apache Spark software files
Use the following command to move the spark software files to respective directory (/usr/local/bin)
$ sudo mv spark-2.4.4-bin-hadoop2.7 /usr/local/spark
Set up the environment for Apache Spark
Edit the bashrc file using this command:
$ sudo gedit~/.bashrc
Add the following line to the file. This adds the location where the spark software file are located to the PATH variable.
export PATH = $PATH:/usr/local/spark/bin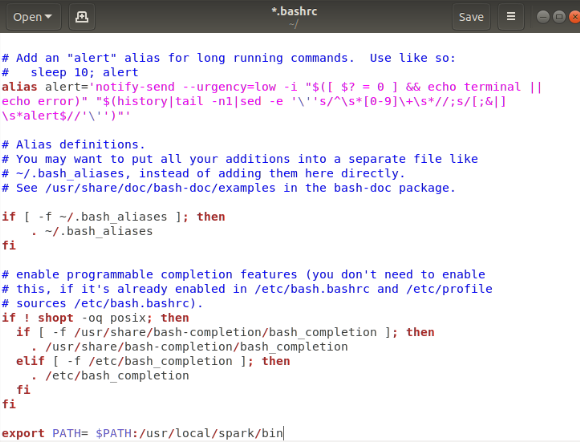
Now we need to use the following command for sourcing the ~/.bashrc file:
$ source ~/.bashrc
11th Step:
Apache Spark Master Configuration (do this step on the Master VM only)
Edit spark-env.sh
Move to spark conf folder and create a copy of the template of spark-env.sh and rename it.
$ cd /usr/local/spark/conf
$ cp spark-env.sh.template spark-env.sh
Now edit the configuration file spark-env.sh.
$ sudo vim spark-env.shAnd add the following parameters:
export SPARK_MASTER_HOST='<MASTER-IP>'export JAVA_HOME=<Path_of_JAVA_installation>Add Workers
Edit the configuration file slaves in (/usr/local/spark/conf).
$ sudo nano slaves
And add the following entries.
pd-master
pd-slave01
pd-slave02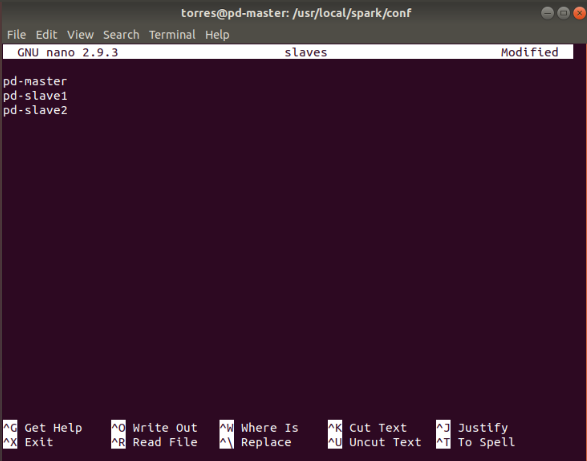
12th Step:
Let’s try to start our Apache Spark Cluster, hopefully everything is ok!
To start the spark cluster, run the following command on master.:
$ cd /usr/local/spark
$ ./sbin/start-all.sh

I won’t stop it, but in case you want to stop the cluster, this is the command:
$ ./sbin/stop-all.sh13th Step:
To check if the services started we use the command:
$ jps
14th Step:
Browse the Spark UI to know about your cluster. To do this, go to your browser and type:
http://<MASTER-IP>:8080/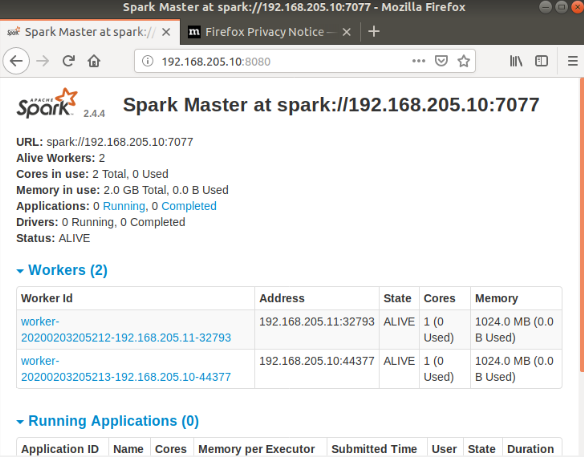
As you can see we have 2 Alive Workers, our slaves, which means it’s all done!
Sign Up with Databricks Community Edition
You can Sign Up with Databricks free community edition from
https://databricks.com/try-databricks
With the Databricks free community edition, you need to declare some personal information along with the reason of using it. Once you submit it, you should see the following notification and wait for the Email.

Launch the Databricks, Upload the Data, and Write Your First Script
Databrick Community Edition Sign-In: CLICK HERE
1. Provide your credentials with your specified username and password registered with Databricks. Success sign in should appear as below:

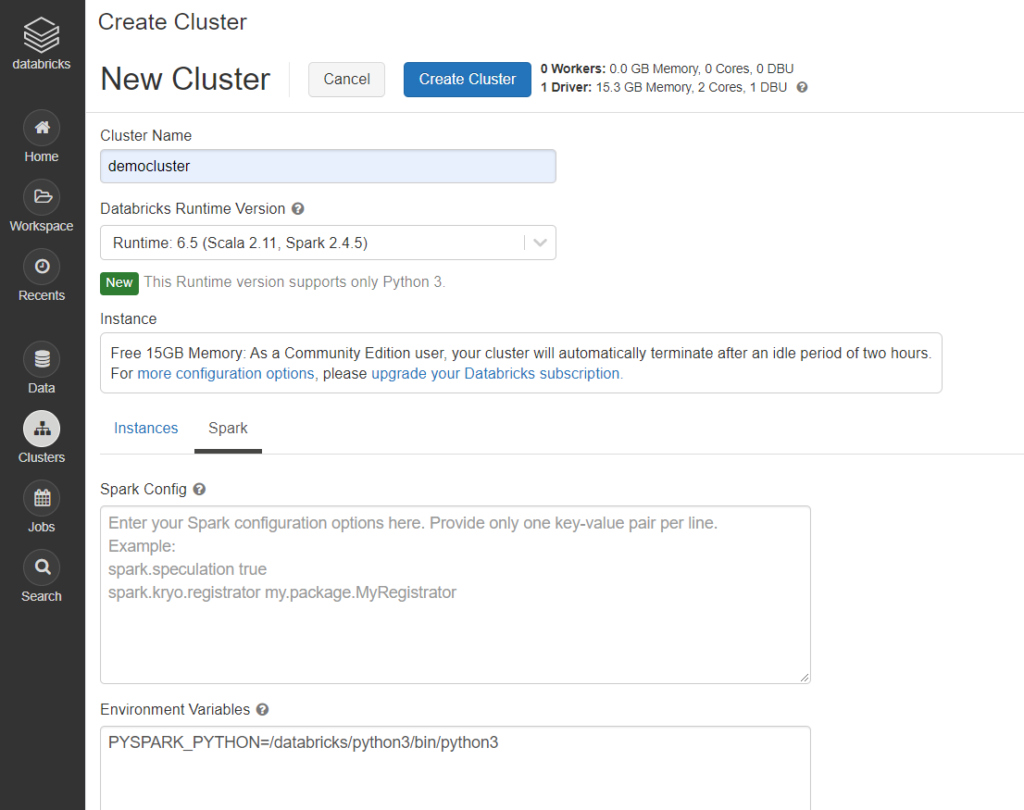
2. Initiate the new cluster. On the left-hand side, click ‘Clusters’, then specify the cluster name and Apache Spark and Python version. For simplicity, I will choose 4.3 (includes Apache Spark 2.4.5, Scala 2.11) by default. To check if the cluster is running, your specified cluster should be active and running under ‘interactive cluster’ section.
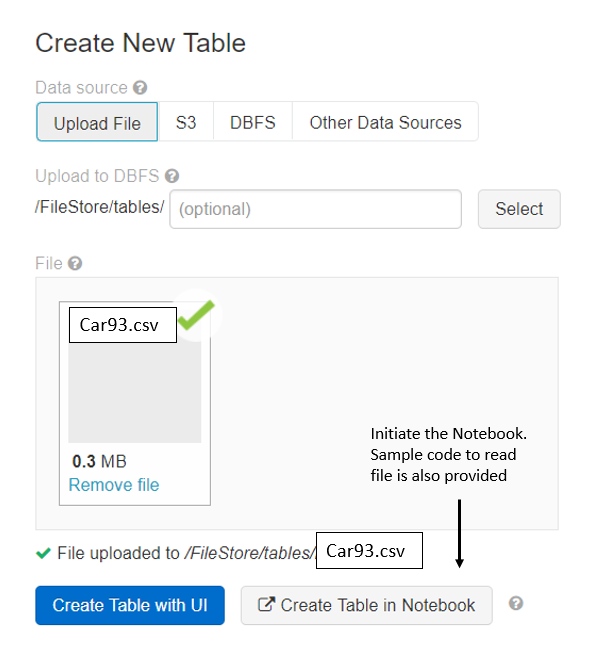
3. Go shopping for some sample dataset: Cars93 .
Home → Import & Explore Data → Drag File to Upload → Create Table in Notebook
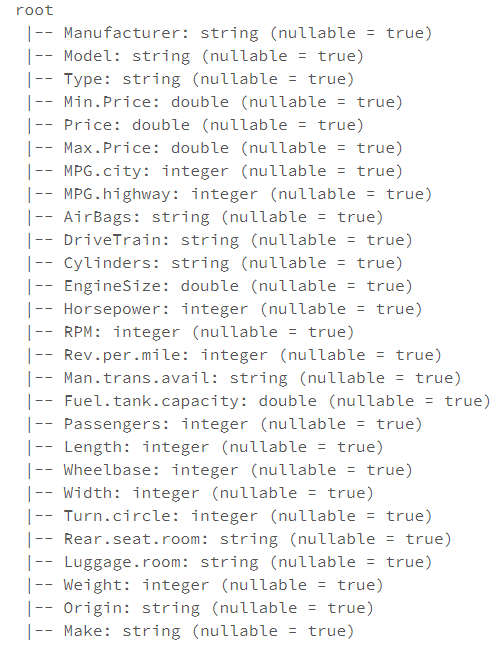
4. Run the following commands in the workspace environment. It’s a simple way to interact with data in the FileStore. To change languages within a cell:
%python– Allows you to execute Python code in the cell.%r– Allows you to execute R code in the cell.%scala– Allows you to execute Scala code in the cell.%sql– Allows you to execute SQL statements in the cell.sh– Allows you to execute Bash Shell commmands and code in the cell.fs– Allows you to execute Databricks Filesystem commands in the cell.md– Allows you to render Markdown syntax as formatted content in the cell.run– Allows you to run another notebook from a cell in the current notebook.
To read more about magics see here.
https://gist.github.com/arifmarias/5666790ca73b5d3667f91be07be30d48

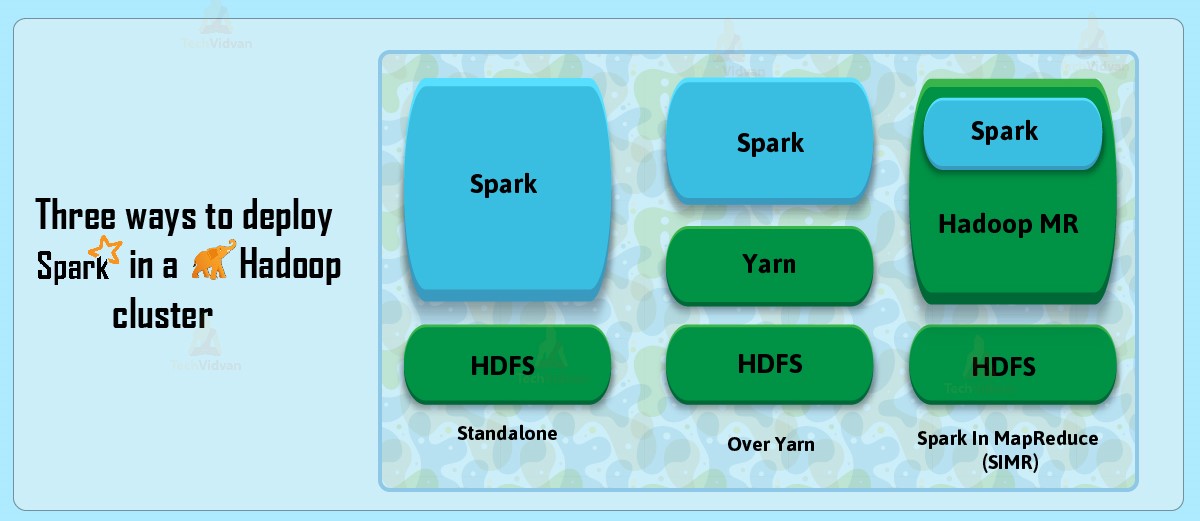
Basically, we can deploy Spark in a Hadoop cluster in three ways, such as standalone, YARN, and SIMR.
Some Intuition
In Spark, there are two modes to submit a job:
i) Client mode
(ii) Cluster mode.
Client mode:
In the client mode, we have Spark installed in our local client machine, so the Driver program (which is the entry point to a Spark program) resides in the client machine i.e. we will have the SparkSession or SparkContext in the client machine.
Whenever we place any request like “spark-submit” to submit any job, the request goes to Resource Manager then the Resource Manager opens up the Application Master in any of the Worker nodes.
Note: I am skipping the detailed intermediate steps explained above here.
The Application Master launches the Executors (i.e. Containers in terms of Hadoop) and the jobs will be executed.

After the Executors are launched they start communicating directly with the Driver program i.e. SparkSession or SparkContext and the output will be directly returned to the client.

The drawback of Spark Client mode w.r.t YARN is that: The client machine needs to be available at all times whenever any job is running. You cannot submit your job and then turn off your laptop and leave from office until your job is finished. 😛
In this case, it won’t be able to give the output as the connection between Driver and Executors will be broken.
Cluster Mode:
The only difference in this mode is that Spark is installed in the cluster, not in the local machine. Whenever we place any request like “spark-submit” to submit any job, the request goes to Resource Manager then the Resource Manager opens up the Application Master in any of the Worker nodes.
Now, the Application Master will launch the Driver Program (which will be having the SparkSession/SparkContext) in the Worker node.
That means, in cluster mode the Spark driver runs inside an application master process which is managed by YARN on the cluster, and the client can go away after initiating the application. Whereas in client mode, the driver runs in the client machine, and the application master is only used for requesting resources from YARN.


Here, I have explained how Spark Driver and Executor works
Integrate Spark with YARN (General Procedure)
To communicate with the YARN Resource Manager, Spark needs to be aware of your Hadoop configuration. This is done via the HADOOP_CONF_DIR environment variable. The SPARK_HOME variable is not mandatory but is useful when submitting Spark jobs from the command line.
- Edit the “bashrc” file and add the following lines:
export HADOOP_CONF_DIR=/<path of hadoop dir>/etc/hadoop
export YARN_CONF_DIR=/<path of hadoop dir>/etc/hadoop
export SPARK_HOME=/<path of spark dir>
export LD_LIBRARY_PATH=/<path of hadoop dir>/lib/native:$LD_LIBRARY_PATH
- Restart your session by logging out and logging in again.
- Rename the spark default template config file:
mv $SPARK_HOME/conf/spark-defaults.conf.template $SPARK_HOME/conf/spark-defaults.conf - Edit $SPARK_HOME/conf/spark-defaults.conf and set spark.master to yarn:
spark.master yarn
Copy all jars of Spark from $SPARK_HOME/jars to hdfs so that it can be shared among all the worker nodes:
hdfs dfs -put *.jar /user/spark/share/lib
Add/modify the following parameters in spark-default.conf:
spark.master yarn
spark.yarn.jars hdfs://hmaster:9000/user/spark/share/lib/*.jar
spark.executor.memory 1g
spark.driver.memory 512m
spark.yarn.am.memory 512m
Option 1
If you have Hadoop already installed on your cluster and want to run spark on YARN it’s very easy:
Step 1: Find the YARN Master node (i.e. which runs the Resource Manager). The following steps are to be performed on the master node only.
Step 2: Download the Spark tgz package and extract it somewhere.
Step 3: Define these environment variables, in .bashrc for example:
# Spark variables
export YARN_CONF_DIR=$HADOOP_HOME/etc/hadoop
export SPARK_HOME=<extracted_spark_package>
export PATH=$PATH:$SPARK_HOME/bin
Step 4: Run your spark job using the --master option to yarn-client or yarn-master:
spark-submit \
--master yarn-client \
--class org.apache.spark.examples.JavaSparkPi \
$SPARK_HOME/lib/spark-examples-1.5.1-hadoop2.6.0.jar \
100
This particular example uses a pre-compiled example job which comes with the Spark installation.
Option 2
https://gist.github.com/arifmarias/a16dcfe830fda289378de3d70820f4c7
